Trimming your cat’s nails sounds simple until you have a 9-pound opinionated gymnast in your lap. I get it. I have Clementine (a tortie with boundaries) and Waffles (an orange tabby who is shocked by his own feet), and I still treat nail trims like a tiny, planned event.
The good news: most cats can learn to tolerate, and some even enjoy, quick nail trims when you keep things predictable, gentle, and reward-heavy. This guide walks you through exactly how to do it at home with minimal stress for both of you.
Before you start: what you’re actually trimming
Cat nails are curved claws that grow continuously. Inside each nail is the quick, a bundle of blood vessels and nerves. On light nails, the quick looks like a pink triangle. On dark nails, it’s harder to see, so you trim in smaller increments.
Your goal is to remove the sharp tip, not to “shorten the whole nail.” A small trim every 2 to 4 weeks is usually easier than waiting until nails are very long.
Choose the right tools
Clipper options
- Scissor-style cat nail clippers: My go-to for most households. They give good control and visibility.
- Guillotine-style clippers: Can work, but some people find it harder to see exactly where the blade will land.
- Human nail clippers: Not ideal. They can crush or split the nail because the curve doesn’t match a cat claw.
Helpful extras
- Treats your cat truly loves (think: Churu-style lickable treats, freeze-dried chicken, or a favorite wet food)
- A towel or small blanket for stability or a gentle wrap
- Good lighting (a bright lamp aimed at the paw helps)
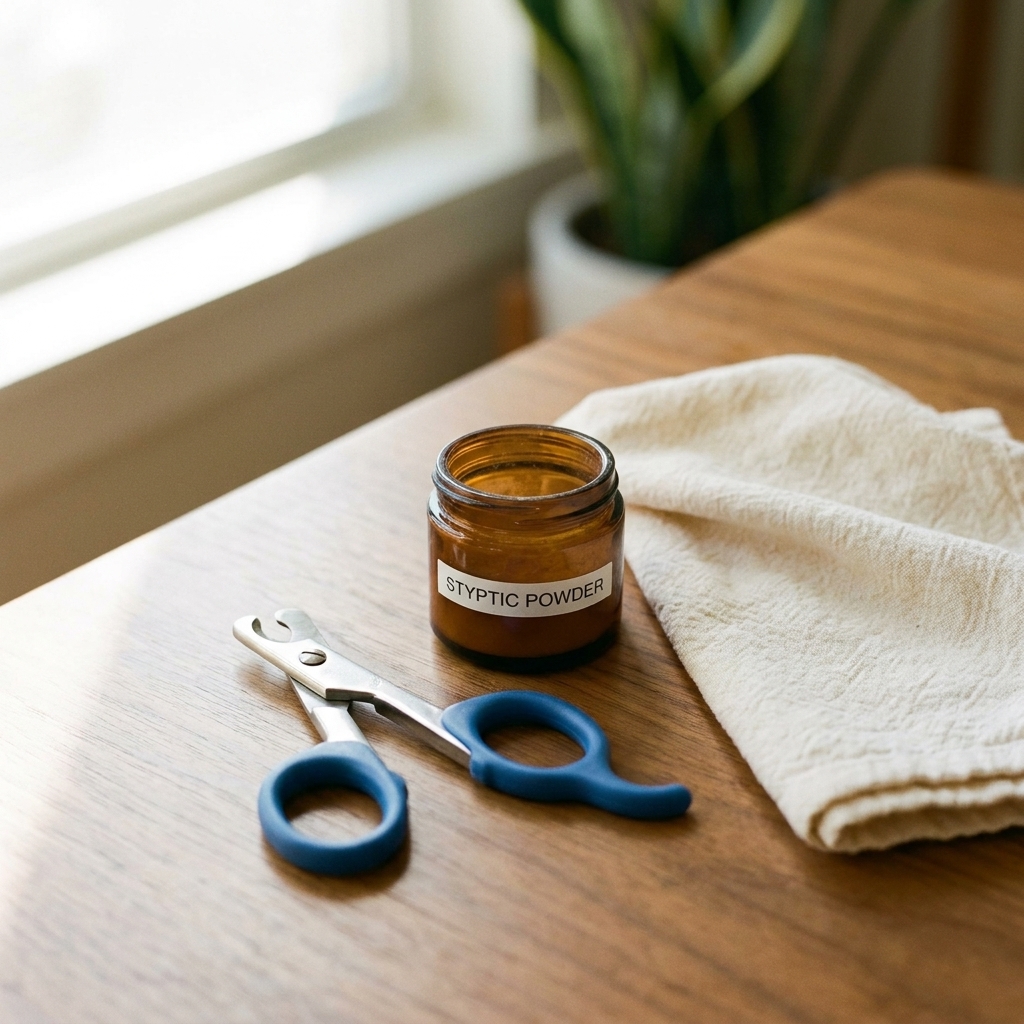
- Styptic powder (or styptic pencil) in case you nick the quick
- A nail file (optional) if you want to smooth a snaggy edge
If your cat already tenses up when they see the clippers, switch to a different style or color and do a short retraining period. Cats notice patterns, and sometimes the tool itself becomes the trigger.
When not to trim at home
Sometimes the kindest choice is to pause and get help. Skip at-home trimming and call your vet or a fear-free groomer if:
- Your cat is highly fearful or aggressive and you cannot handle paws safely
- A nail is curling toward (or into) the paw pad
- You notice swelling, discharge, bleeding, a bad smell, or a broken/torn nail
- Your cat is limping or seems painful when you touch the feet
There’s no prize for doing it yourself. There is a prize for keeping everyone’s skin intact.
Low-stress rule #1: don’t start with clipping
If nail trims have been tense in the past, the fastest way to make them easier is to break the routine into tiny steps and reward each one. This is desensitization and counterconditioning, and it works beautifully for cats when you keep sessions short.
If you are new to reading cat body language, here’s a quick cheat sheet.
- More relaxed: soft body, normal breathing, neutral ears, tail resting, no sudden freezing
- Too stressed: tail lashing, ears pinned back, growling, panting, tense body, trying to bite or bolt
A simple 5-step plan
Do each step for 3 to 10 seconds, then reward. Repeat once or twice a day for a few days. If your cat tenses up, go back a step.
- Touch the paw briefly, reward, done.
- Hold the paw for one second, reward, done.
- Press the toe pad so one claw extends, reward, done.
- Show the clippers without moving toward the paw, reward, done.
- Clip a dry spaghetti noodle (or tap the clippers together) to introduce the sound, reward, done.
When your cat stays relaxed through step 5, you’re ready to clip a single nail. One nail counts as success.
Best timing and location
Pick a time when your cat is naturally calmer. After a play session and a small meal is a sweet spot for many cats.
- Choose a non-slip surface: a couch, bed, or a yoga mat on the floor.
- Keep it quiet: reduce sudden noises and foot traffic.
- Set up rewards first: have treats open and within reach so you are not fumbling mid-trim.
Step-by-step: how to trim
Step 1: Get your cat comfortable
Invite your cat over instead of grabbing them from across the room. If they choose to leave, let them. You want nail trims to feel predictable and safe, not like a surprise capture.
Step 2: Find a secure, gentle hold
There’s no single “right” position. Choose what keeps your cat relaxed:
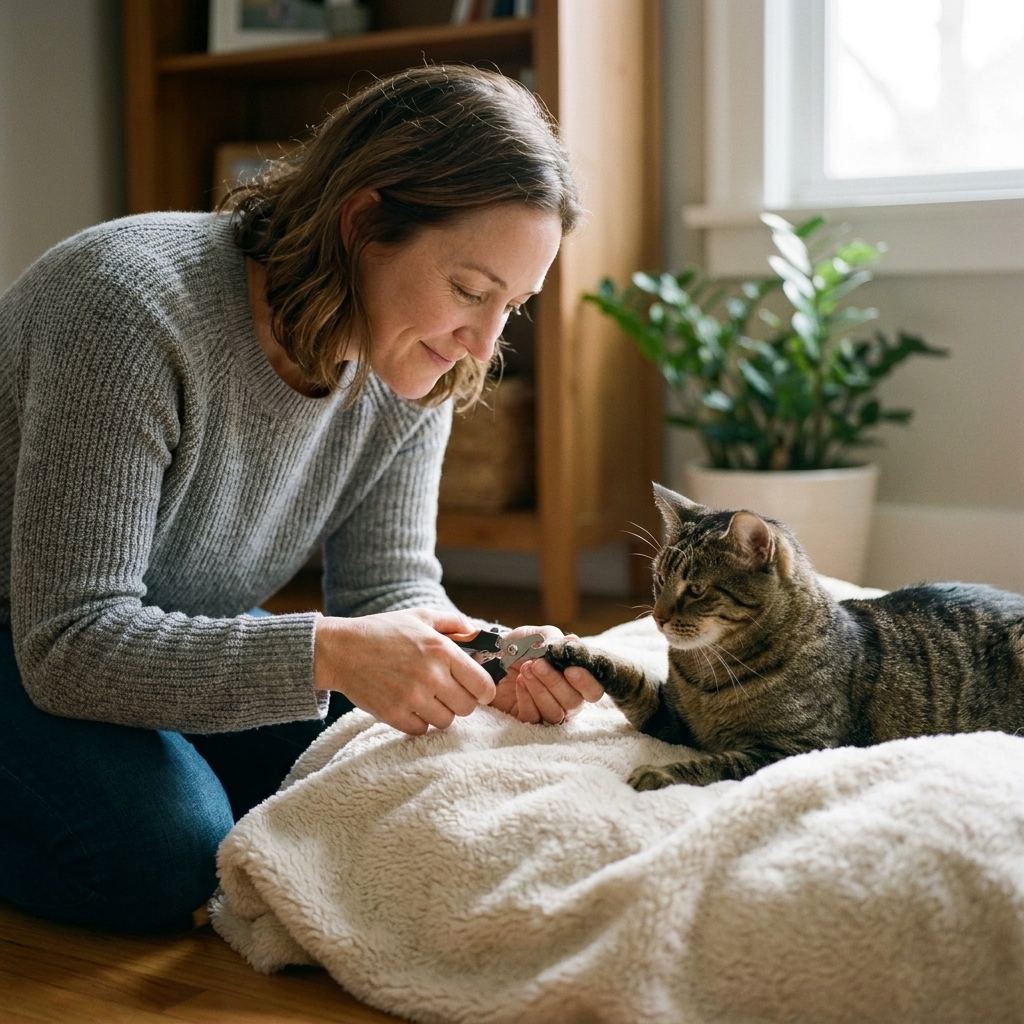
- Lap position: cat facing away from you, resting against your stomach.
- Side cuddle: cat lying on their side next to you on the couch.
- Tabletop: cat standing or sitting on a grippy mat while you clip from the side.
Avoid pinning. Think “steadying,” not “restraining.” If your cat starts to twist, pause and reset.
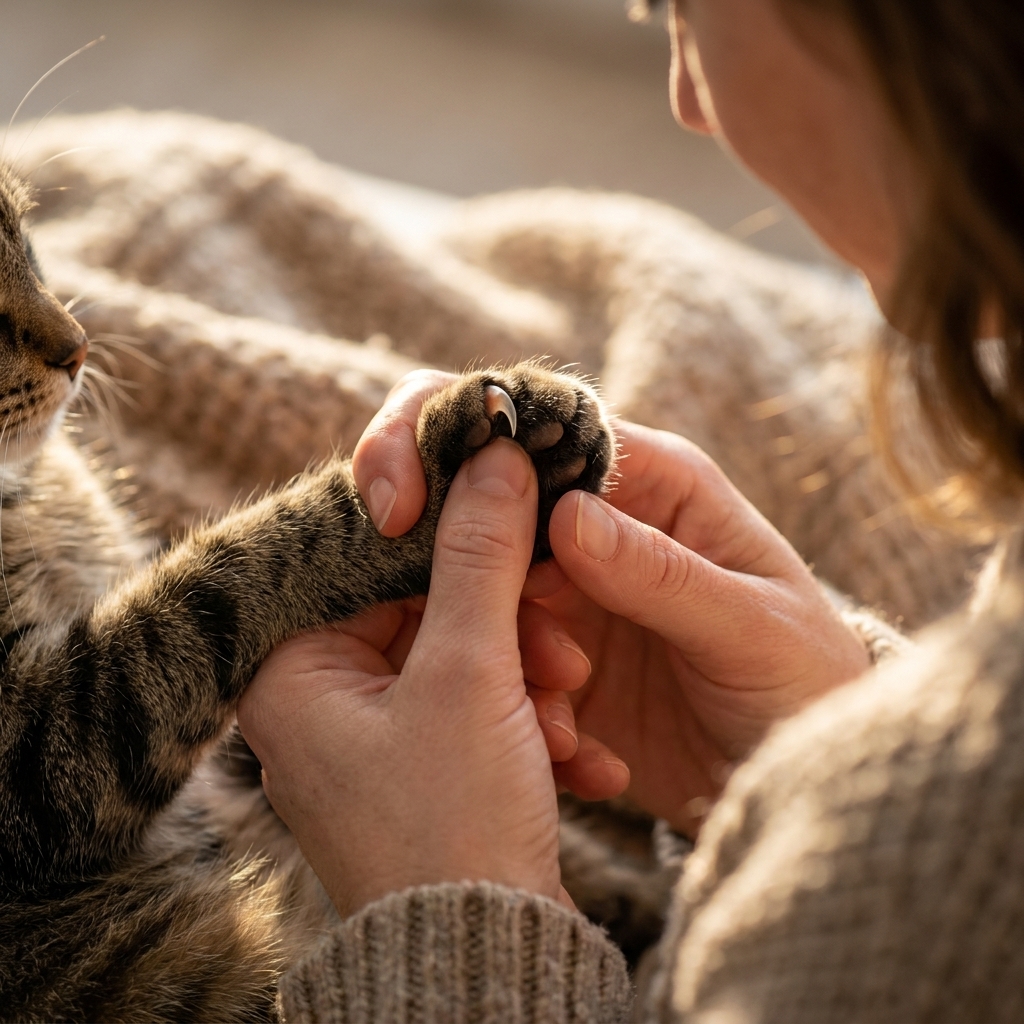
Step 3: Extend one claw
Hold the paw gently. Use your thumb to press the toe pad from underneath while your index finger supports the top of the toe. The claw will extend.
Step 4: Identify the quick
Light nails: look for the pink area inside the nail and trim a few millimeters in front of it.
Dark nails: trim only the sharp tip. If you look at the cut end, stop if you see a darker, moist-looking center or a small grayish dot. That can mean you’re getting close.
Step 5: Make the cut
Clip the very tip in a smooth motion. Aim for a small trim rather than a big one.
- Angle: follow the natural curve of the nail and avoid cutting straight across too high.
- Amount: start with 1 to 2 mm off the tip if you are unsure.
Step 6: Reward immediately
Treat after each nail, especially while you’re building trust. A lickable treat you can hold near their face turns this into a cooperative experience for many cats.
Step 7: Stop while you’re ahead
If your cat is getting wiggly, do fewer nails. Two paws today and two paws tomorrow is completely fine. Consistency matters more than finishing in one sitting.
How much should you trim?
For most cats, trimming just the needle-sharp point is enough to reduce scratching injuries and snagging on fabric while keeping the experience low-stress.
If nails are very long or curling, go slowly over multiple sessions. Trimming a little more often may, over time, encourage the quick to sit a bit farther back in some cats, but it’s not guaranteed and it’s not instant.
Front vs. back nails
Front nails are usually sharper and, for many cats, tend to grow faster or stay pointier, so they’re the priority in a lot of households.
- Front paws: typically 5 nails each (including the dewclaw higher up on the inside).
- Back paws: typically 4 nails each.
Don’t forget dewclaws. They don’t wear down much naturally and can overgrow if ignored.
If your cat hates trims
“My cat bites or swats.”
- Back up to desensitization steps and work in 5 to 10 second sessions.
- Try a lickable treat during the trim to keep the mouth busy.
- Switch positions. Many cats do better beside you rather than in your lap.
- Consider clipping one nail per session for a week. It sounds slow, but it builds trust fast.
“My cat runs when they see the clippers.”
- Leave the clippers out only if you can do it safely: keep them closed and placed where pets and kids cannot grab them.
- Do “clipper appears, treat happens” with no paw handling at first.
“My cat won’t let me touch their paws.”
- Start paw touches during calm moments unrelated to grooming.
- Pair one brief touch with a high-value treat, then stop.
- Work up to holding the paw for one second, then two.
“My cat’s nails are super thick.”
Senior cats and some cats with limited scratching opportunities can develop thicker nails. Use sharp, cat-specific clippers and trim smaller amounts. If the nail looks crumbly, layered, or abnormal, check in with your vet to rule out infection or nail bed issues.
If you cut the quick
First, take a breath. It happens even to experienced people, especially with dark nails or wiggly cats.
- Apply styptic powder to the tip and hold steady pressure with a tissue for 30 to 60 seconds. Repeat if needed.
- Keep your cat calm and indoors while it finishes clotting.
- Skip the rest of the trim for today. End with a treat and a reset.
Contact your veterinarian if bleeding won’t stop after several minutes of pressure, the nail is torn, or your cat is limping.
Make future trims easier
Once your cat tolerates clipping, the maintenance trick is simple: micro-sessions.
- Clip 1 to 3 nails while your cat is sleepy.
- Reward, then stop.
- Rotate paws over the week.
This keeps stress low because nail trims stop feeling like a big event. It’s just a tiny moment followed by snacks.

FAQ
How often should I trim my cat’s nails?
Most cats do well with trims every 2 to 4 weeks. If your cat is older, less active, or their nails snag easily, you may need to trim a bit more often.
Should I bathe my cat or trim after a bath?
No need. Some cats are slightly calmer after a warm nap spot or a play session, but baths often increase stress. Choose calm, familiar routines instead.
Can I use a nail grinder on a cat?
Some cats tolerate grinders, but many dislike the sound and vibration. If you try one, go very slowly with desensitization and use brief touches. Clippers are usually simpler for most homes.
Do indoor cats need nail trims?
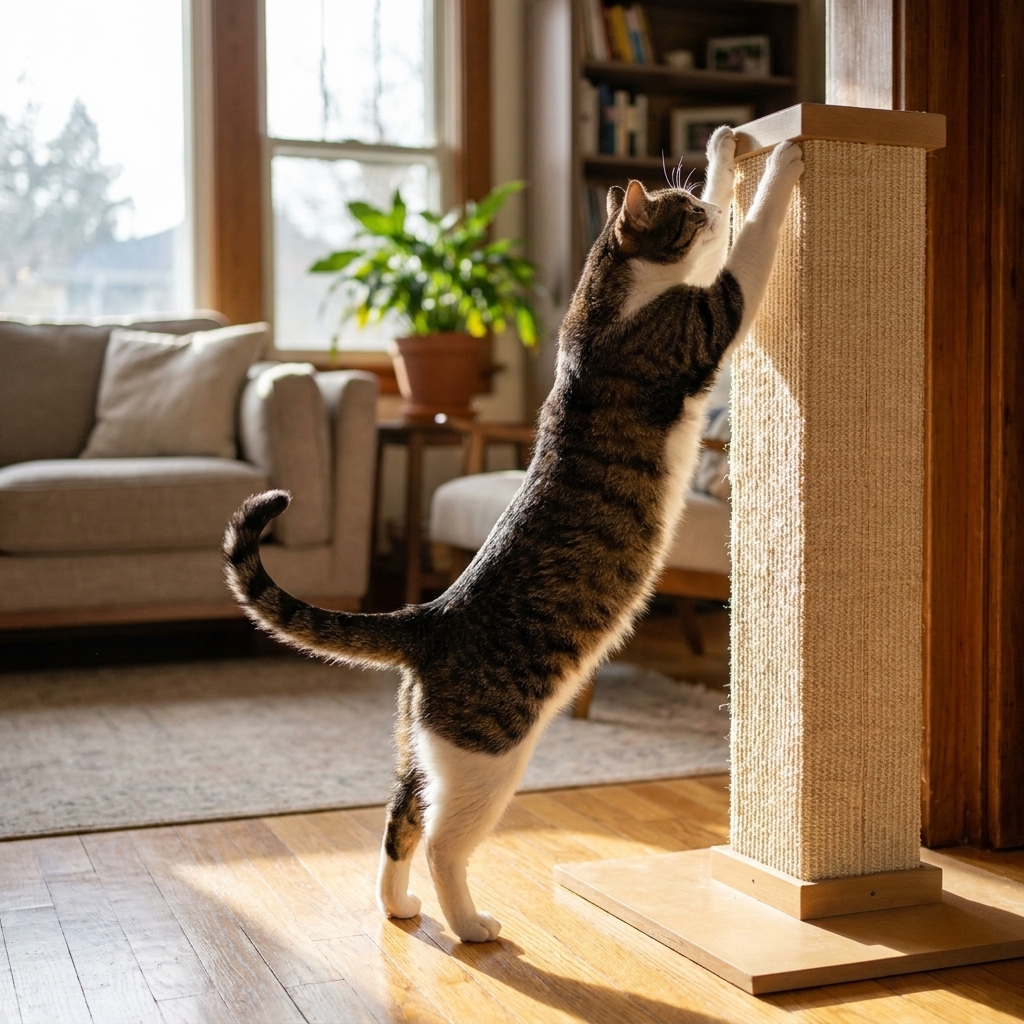
Often, yes. Scratching posts help shed nail sheaths, but they don’t always keep nails short enough to prevent snags or accidental scratches.
What about kittens?
Kittens are the easiest to teach. Keep it absurdly short, even one or two nails, then stop and celebrate with treats. The goal at first is “paws are safe to handle,” not perfection.
When should I ask a pro?
If your cat becomes highly fearful, you can’t safely handle their paws, or someone is getting scratched regularly, it’s worth asking your vet clinic or a fear-free groomer for help. Some cats also do best with a vet-guided plan that may include short-term anti-anxiety medication for handling.
A final pep talk
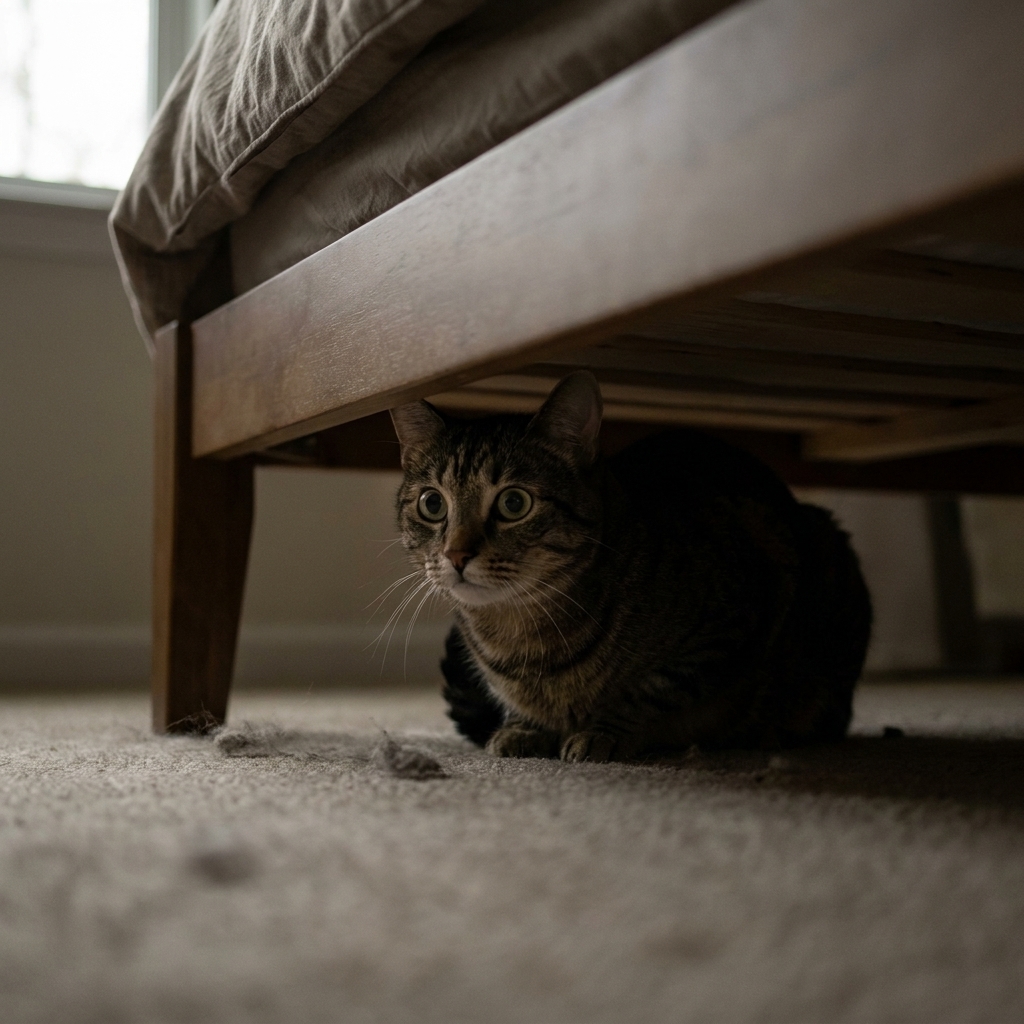
If your last nail trim attempt ended with a dramatic exit under the bed, you’re not a bad cat parent. You’re learning a skill, and your cat is learning to trust the process.
Start smaller than you think you need to. One nail, one treat, done. Those tiny wins add up quickly.