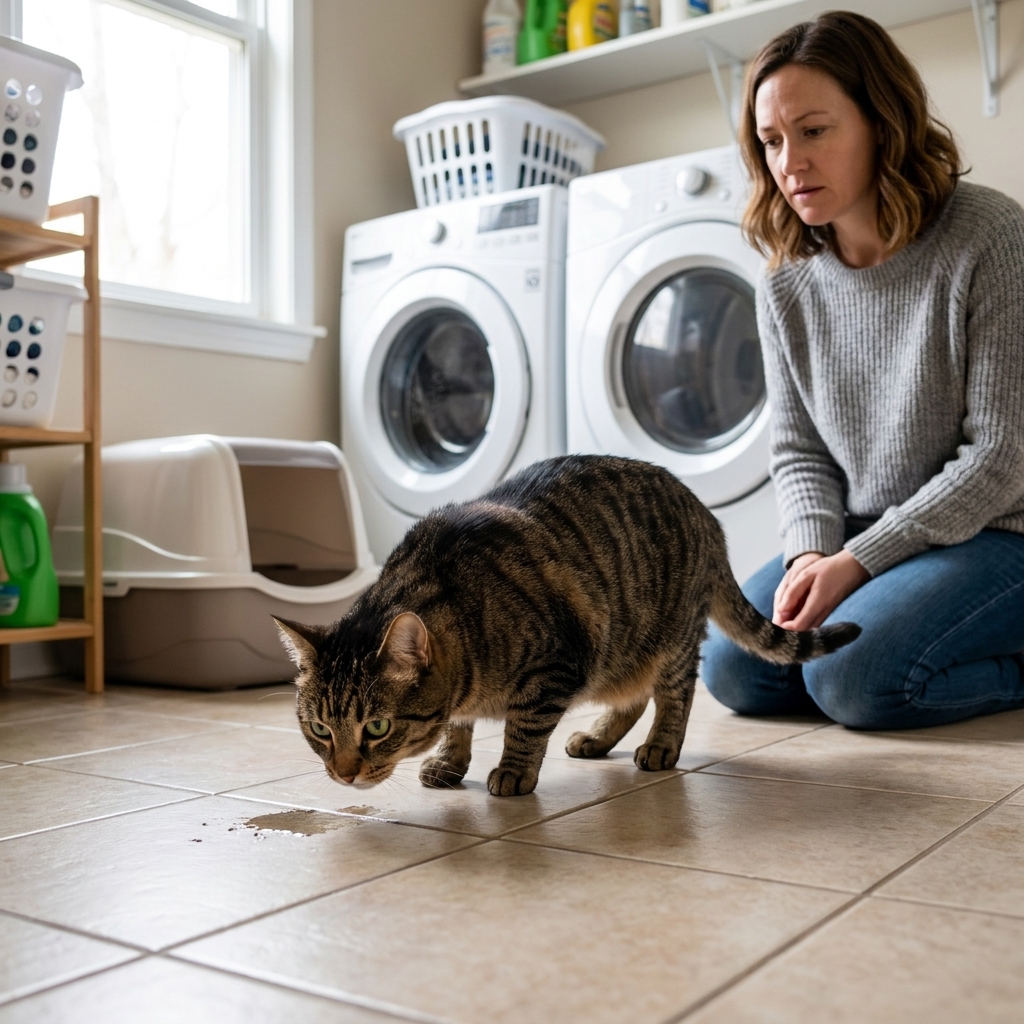
I have fostered a lot of kittens who arrived with zero opinions about personal space and one strong opinion about peeing exactly where the softest thing in the room happens to be. And if you have ever cleaned cat urine out of carpet at 2 a.m., you already know the frustrating part: you can get the stain up, but the smell likes to linger.
The reason is simple. Cat urine does not just sit on the surface. It wicks down into carpet backing, padding, and upholstery foam. If any odor remains, many cats will treat that spot like it is an “approved bathroom” and return to it. The goal is not perfume or masking. The goal is to break down the urine compounds at every layer.
Before you start: what to grab and what to avoid
What you will need
- White paper towels or clean white cloths (white helps you see what you are lifting)
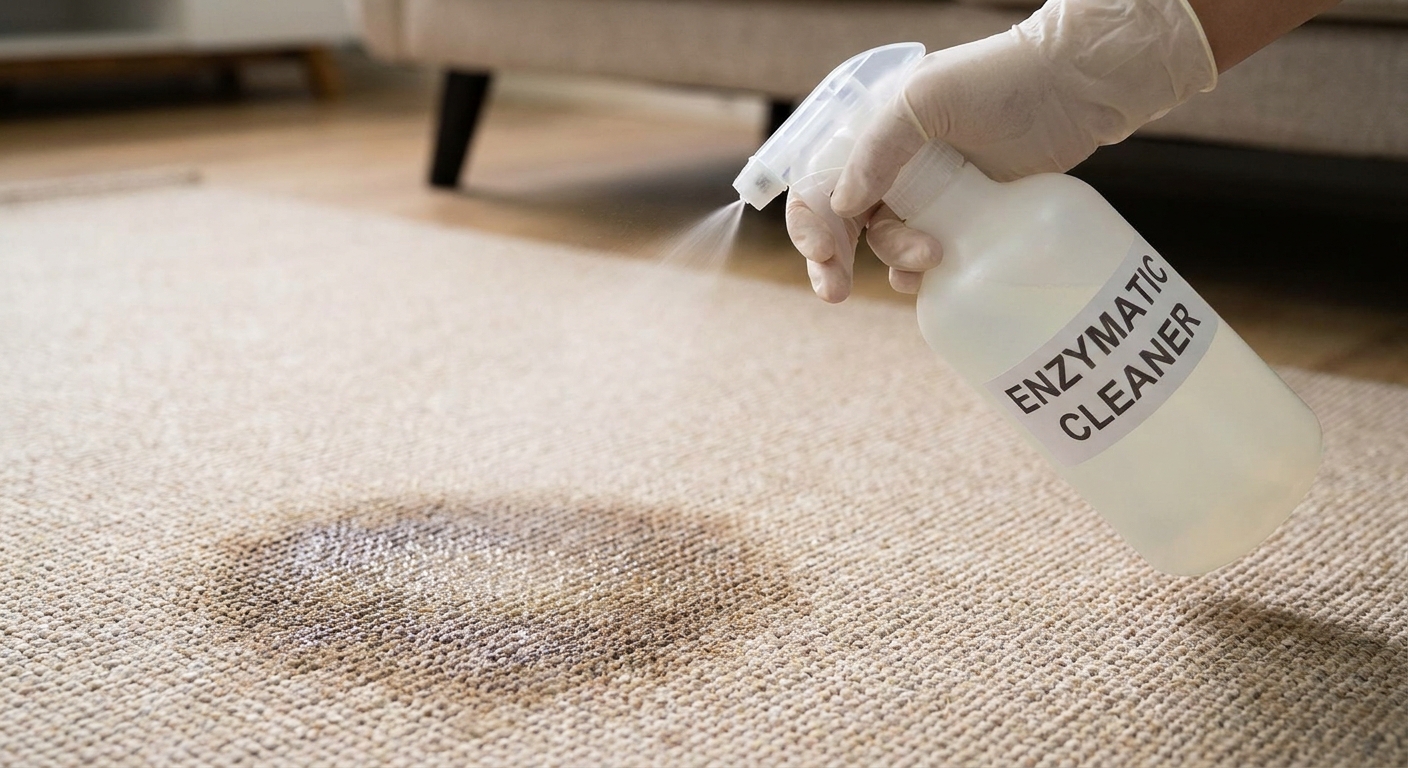
- Enzymatic pet urine cleaner (the most important tool)
- Cool water
- Disposable gloves (optional but wise)
- A dull spoon or butter knife for lifting dried residue
- Plastic wrap or a clean plastic bag to keep enzyme cleaner from drying too fast
- A laundry basket, upside-down tote, or chairs to block access while it dries
What to avoid (this matters more than you think)
- Steam cleaners or hot water extraction: heat and force can worsen odor and make removal harder, especially if urine is driven deeper into padding or foam.
- Ammonia-based cleaners: as urine breaks down it produces ammonia. An ammonia-like scent can encourage repeat marking.
- Vinegar as a one-and-done solution: it may cut surface odor briefly, but it often does not break down the uric acid crystals that cause long-term smell.
- Fragrance-heavy carpet shampoos: they often mask smell for you, not for your cat’s nose.
- Bleach: unsafe for many surfaces and can create irritating fumes, especially if mixed with other cleaners.
Safety note: Do not mix cleaning products, and keep the area ventilated while you work. If you already tried something else and the smell is still there, you can usually recover. You may just need to thoroughly rinse and then re-treat with an enzyme cleaner correctly.
Fresh cat urine on carpet: the cleanup sequence
Step 1: Blot, do not rub
Press paper towels or a folded cloth firmly into the wet spot. Stand on it if needed, especially on thicker carpet. Replace towels and repeat until you are no longer pulling up much moisture.
Why blotting matters: rubbing spreads urine sideways and grinds it into fibers.
Step 2: Use cool water lightly, then blot again
If you caught it a little late and it already started to soak in, a small amount of cool water can help dilute what is left near the surface. Do not flood. Add a little water, blot thoroughly, and repeat once if needed.
Step 3: Saturate with enzymatic cleaner (yes, saturate)
This is the step most people under-do. Enzymes need to reach the same depth the urine reached. On carpet, that often means the backing and sometimes the padding.
- Pour or spray the enzyme cleaner until the area is as wet as it was when the accident happened.
- Treat a margin around the spot, too, because urine spreads as it wicks.
Step 4: Keep it damp long enough for the enzymes to work
Enzyme cleaners are not instant. They need contact time and moisture. Check your product label because dwell times vary widely, and some products work best when they stay wet for much longer than 15 minutes.
As a general starting point: keep the area damp for 10 to 15 minutes at minimum (or the label’s minimum). For bigger or older spots, 30 minutes or longer is often more effective.
If the product seems to dry quickly, lay plastic wrap loosely over the damp area. This slows evaporation and gives enzymes time to do their job. Remove the plastic after the recommended dwell time.
Step 5: Blot excess, then air-dry completely
After the dwell time, blot up what you can. Then let the area fully air-dry. Avoid hot air. Avoid steaming.
Expect a temporary odor flare-up while drying. As the spot dries, you may smell it more for a bit because moisture is bringing odor molecules up. That does not automatically mean it failed. Judge results once it is dry.
Old or mystery cat urine smell: how to get it out for good
Old urine is where people start to feel defeated, because the water has evaporated but the uric acid crystals remain. Those crystals can reactivate and smell again with humidity, cleaning, or a rainy day.
Step 1: Find the exact area
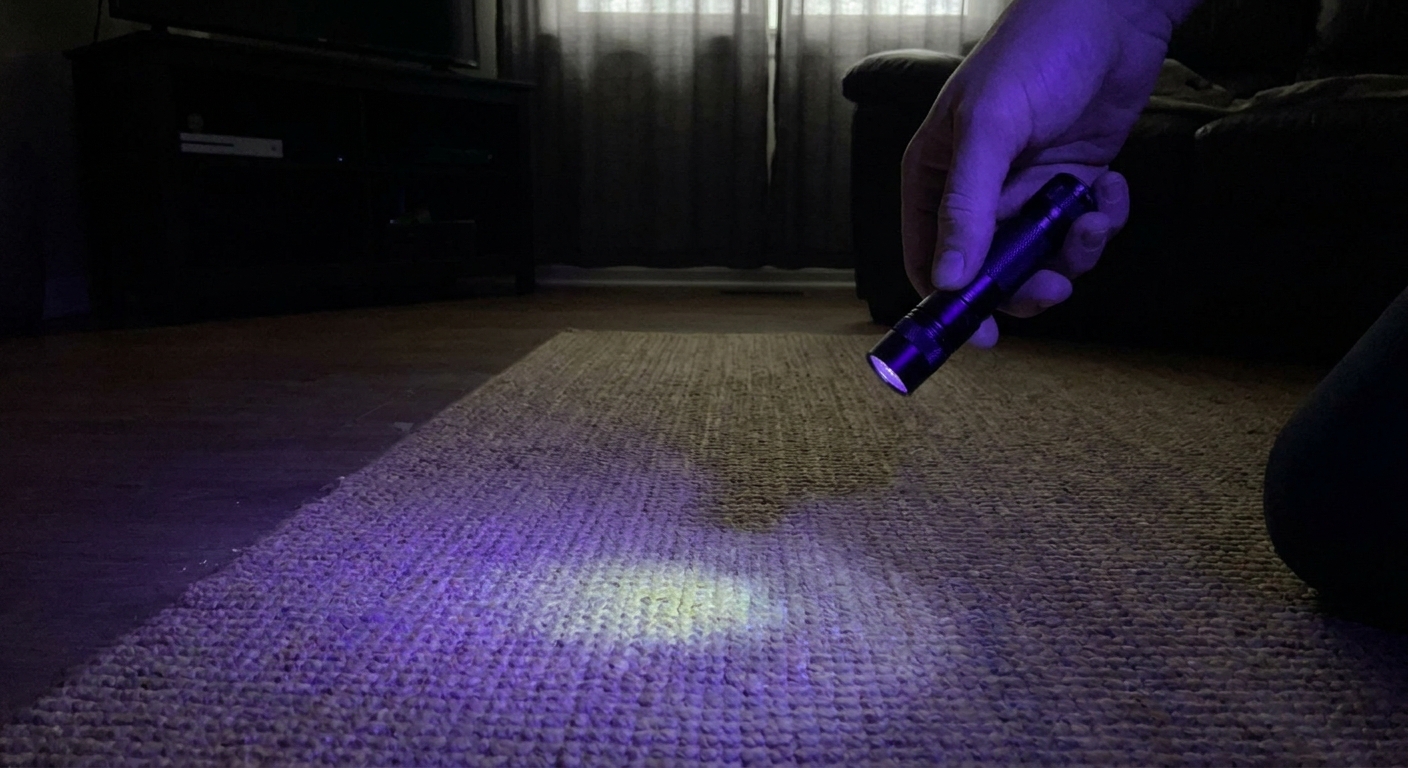
If you are not sure where it is coming from, use a UV flashlight at night or in a dark room. Cat urine can fluoresce, often in a yellowish or greenish tint, but so can detergents and other stains. Use UV to find likely spots, then confirm by location, history, and whether treatment improves the odor. Mark the edges with a small piece of tape so you do not lose the spot when the lights come on.
Step 2: Rehydrate the spot before enzymes
For dried urine, enzymes work best when the area is rehydrated. You can either:
- Apply the enzymatic cleaner generously and let it soak in, or
- Lightly mist with cool water first, then apply the enzymatic cleaner.
The goal is to get moisture back into the crystals so the enzymes can break them down.
Step 3: Saturate deep enough to reach the padding
If an odor has lingered for days or weeks, assume it reached the padding (or upholstery foam). You need enough enzyme cleaner to soak through the carpet fibers and backing.
If you only treat the surface, you can end up with a clean top layer and a smelly underlayer that keeps releasing odor.
Step 4: Extend dwell time and slow drying
Old spots benefit from longer contact time. Follow your product label, but in real homes, I often find that 30 to 60 minutes damp makes a big difference for set-in odor. Some products may recommend longer wet time or re-application to keep the area from drying out. Use plastic wrap to slow evaporation during the dwell period, then remove the plastic and let it air-dry.
Step 5: Repeat if needed (common with old urine)
For heavy saturation or repeated accidents, a second treatment is normal. Let the area dry fully between rounds so you can accurately assess what remains.
Upholstery: couches, chairs, mattresses, and cat beds
Upholstery is trickier because urine can sink into foam and get trapped. You also have to protect the fabric from water rings and over-wetting.
Step 1: Blot from the outside in
Blot the spot gently, working from the outer edge toward the center to avoid spreading it. For cushions, press down with a towel and your body weight, then switch to a dry towel and repeat.
Step 2: Check cleaning codes and spot-test
Look for the manufacturer cleaning code if you can:
- W: water-based cleaner is generally acceptable
- S: solvent only (avoid water-heavy approaches)
- WS or SW: either water-based or solvent
- X: vacuum only (professional help is usually the move)
Then spot-test your enzymatic cleaner in a hidden seam first, especially on wool, silk blends, velvet, and “dry clean only” fabrics. If the label says solvent only or X-code care, consider calling a professional upholstery cleaner and ask specifically about pet urine enzyme treatments.
Step 3: Apply enzyme cleaner with drying in mind
For carpet, I am firmly in the “match the depth of the pee” camp. For upholstery and mattresses, you still need to reach the urine, but you also have to be realistic about what you can dry.
For removable cushions, unzip if possible and treat the foam layer where the urine likely settled. Apply enough enzyme cleaner to penetrate, then allow the proper damp dwell time. If the cover is removable and washable, wash it separately after enzyme treatment if the care tag allows.
Step 4: Manage drying safely
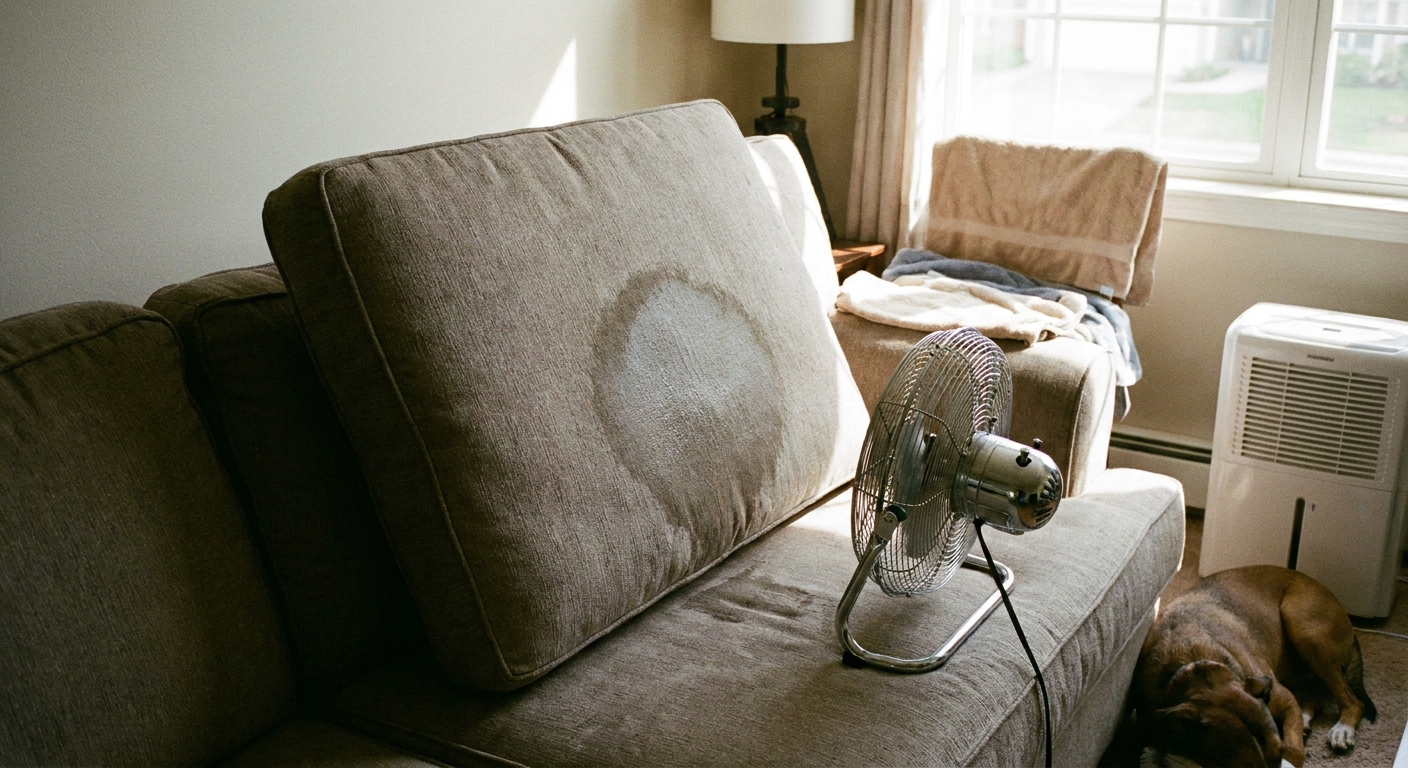
- Use fans to increase airflow.
- Keep pets off the cushion while it dries.
- Avoid high heat sources that can make odor control harder or damage fabric.
If the cushion feels damp deep inside after many hours, you may have used too much liquid for the airflow available. Increase ventilation and give it time. Trapped moisture in foam can lead to mildew, so drying matters almost as much as cleaning.
How long should the area stay damp?
This is the question I wish every enzyme bottle answered clearly. The honest answer is: long enough for enzymes to work before the product evaporates, and for as long as the product instructions require.
- Fresh accident: keep damp for about 10 to 15 minutes (or the label’s minimum).
- Older or stronger odor: often 30 to 60 minutes damp contact time is more effective, and some products may call for longer wet time.
- Very deep saturation: you may need multiple treatments rather than one extremely long soak.
If your home is dry or warm and the spot dries fast, cover with plastic wrap during the dwell time, then remove it and allow full air-drying.
Keep your cat off the damp spot
Cats love fresh-cleaned textures, and some will re-soil a spot that still smells even faintly like urine. While the area dries:
- Block access physically with an upside-down laundry basket, a plastic storage tote, dining chairs, or a playpen panel.
- For couches, remove cushions and stand them upright to dry in a closed room if possible.
- Use a barrier only after the dwell time is complete. For example, once the area has been treated and is drying, you can place a breathable towel over it and then a barrier above the towel to discourage sitting. Do not trap wetness directly against the fabric.
- Keep it boring: avoid playing or feeding near the damp area while it dries.
Why leftover smell leads to repeat accidents
Cat noses are extremely sensitive. Even if you cannot smell anything, your cat may still detect urine compounds and interpret that spot as a familiar bathroom area. That is why “it smells fine to me” can turn into a repeat pee spot a week later, especially on humid days.
Thorough enzyme treatment matters because it breaks down the odor-causing components instead of covering them up. When the scent message is truly gone, you are much less likely to see a repeat performance.
Troubleshooting: when the smell is still there
You used a carpet shampooer or steam already
Do not panic. Rinse the area with cool water (lightly, not flooding), blot thoroughly, then apply enzyme cleaner with sufficient saturation and dwell time. Heat and force can make the problem tougher, but enzymes can still help if they reach the source.
The surface smells better, but odor returns later
This usually means the padding or foam still holds urine. Re-treat with deeper saturation. For carpet, that can mean applying enough enzyme cleaner to soak through the backing.
The cleaner dried too fast
Enzymes stop working when they dry. Next time, apply a bit more product (without flooding) and cover with plastic wrap during the dwell period.
You smell a cleaner scent but also urine underneath
That is a sign of masking. Blot, rinse lightly if the product label allows, then reapply an enzymatic cleaner and give it proper contact time.
Stain is gone, smell is gone, but you want to be sure
Once fully dry, do a sniff test at floor level and, if you have one, a UV check in a dark room. If you find edges you missed, treat those too. Cats tend to return to the exact boundary of a previous spot.
When to call a pro or replace materials
If urine has soaked a large area, has happened repeatedly, or is in delicate upholstery you cannot safely wet, a professional can be worth it.
When you call, ask specifically:
- Do you treat pet urine in carpet padding, not just the surface?
- Do you use enzyme or bio-enzymatic treatments designed for urine?
- Will you avoid high-heat methods on urine areas?
Sometimes, the realistic fix is not another bottle of cleaner. If urine has soaked through pad into the subfloor (especially particle board or wood), the smell can live below the carpet. In those cases, you may be looking at some combination of pad replacement, subfloor cleaning, and sealing, or replacing the affected materials. A good pro will talk about where the contamination is, not just making the carpet look clean.
If accidents keep happening
Cleaning is only half the battle if the accidents are repeating. If your cat is suddenly peeing outside the box, it is worth thinking about the basics:
- Rule out medical issues with your vet, especially with sudden changes (UTIs, pain, stress-related urinary issues).
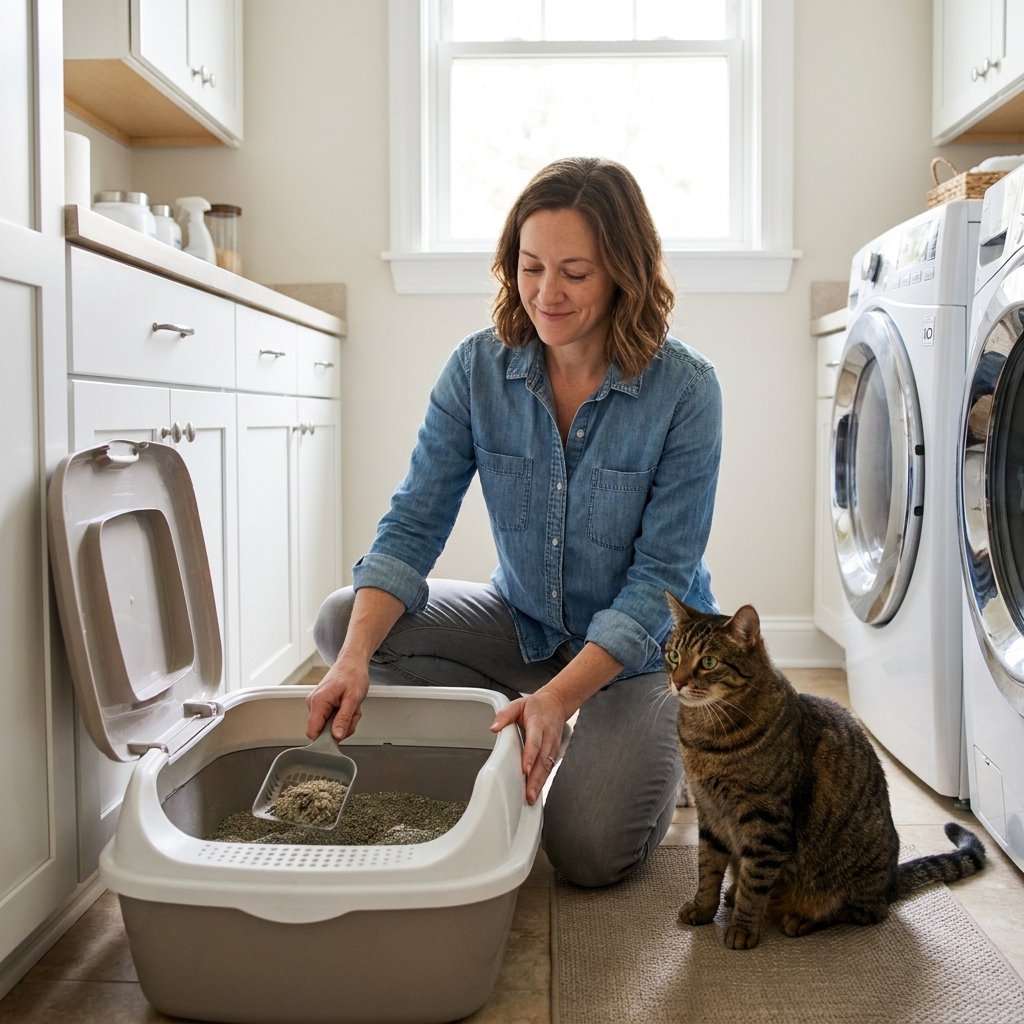
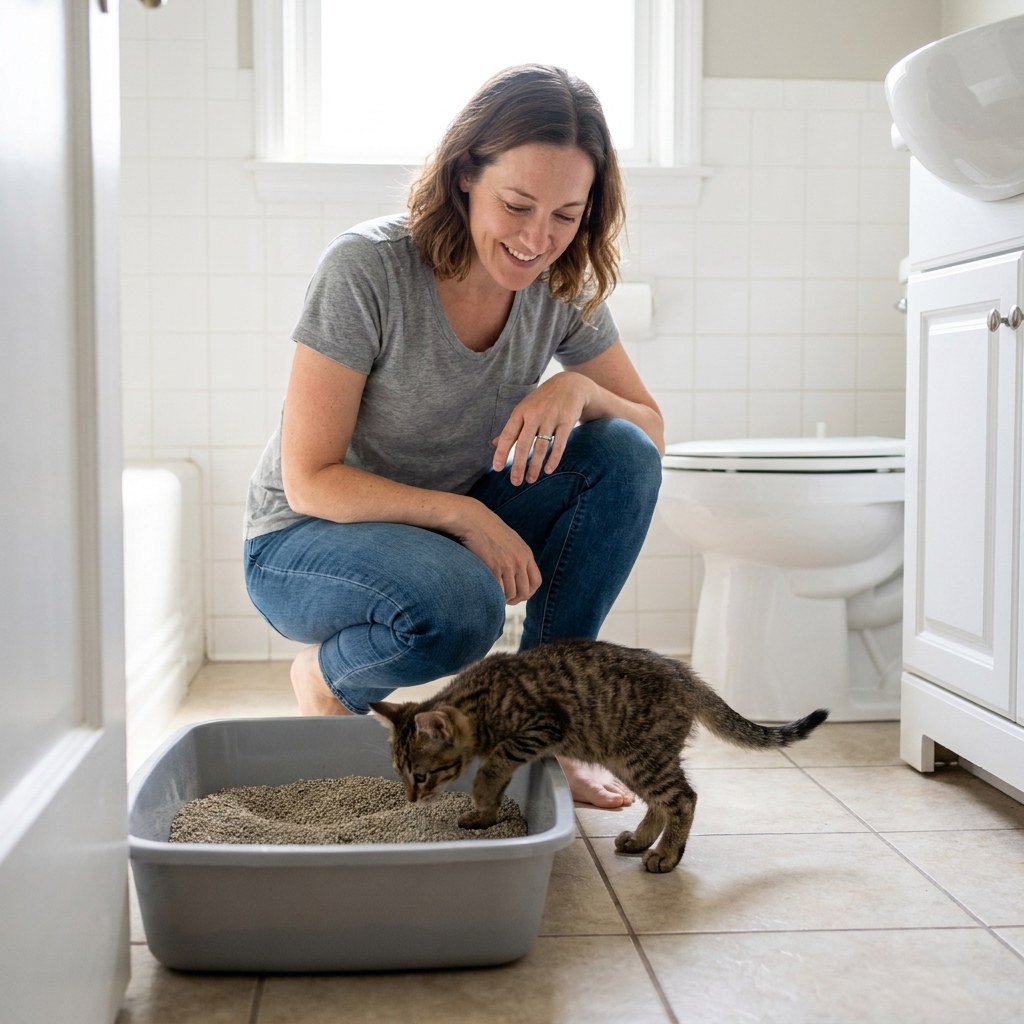
- Make the litter box setup easier: scoop more often, add another box (many cats do better with more than one), and place boxes in quiet, easy-to-reach locations.
- Reduce stress triggers where you can, especially in multi-cat homes.
I say this as someone who has cleaned a lot of “why are we doing this again?” puddles: if you remove the odor but the underlying reason stays, you will keep getting new spots to treat.
Quick reference: the simplest effective routine
- Fresh urine on carpet: blot, light cool-water blot if needed, saturate enzyme cleaner, keep damp per label (often 10 to 15 minutes or more), blot, air-dry.
- Old urine on carpet: locate, rehydrate, saturate enzyme cleaner to depth, keep damp longer (often 30 to 60 minutes or per label), blot, air-dry, repeat if needed.
- Always: skip ammonia-based cleaners, do not mix products, and block your cat’s access until fully dry.
If you take nothing else from this, take this: the enzyme cleaner cannot remove what it never touches. When you match the depth of the urine and give it enough wet time to work, you stop the smell at the source, not just on the surface.