Clicker training is one of my favorite ways to build a cat’s confidence and burn mental energy without turning your living room into a 3 a.m. racetrack. If you have ever wished your cat would do something on purpose (besides knocking a pen off the desk), this is for you.
The clicker is not magic. It is simply a tiny, consistent sound that marks (labels) the exact moment your cat did something right, and tells them, “Yes, that’s what earned you a treat.” With a few minutes a day, many cats can learn simple cues like sit, high-five, and go to mat and they often start offering good behavior more readily in daily life, too.
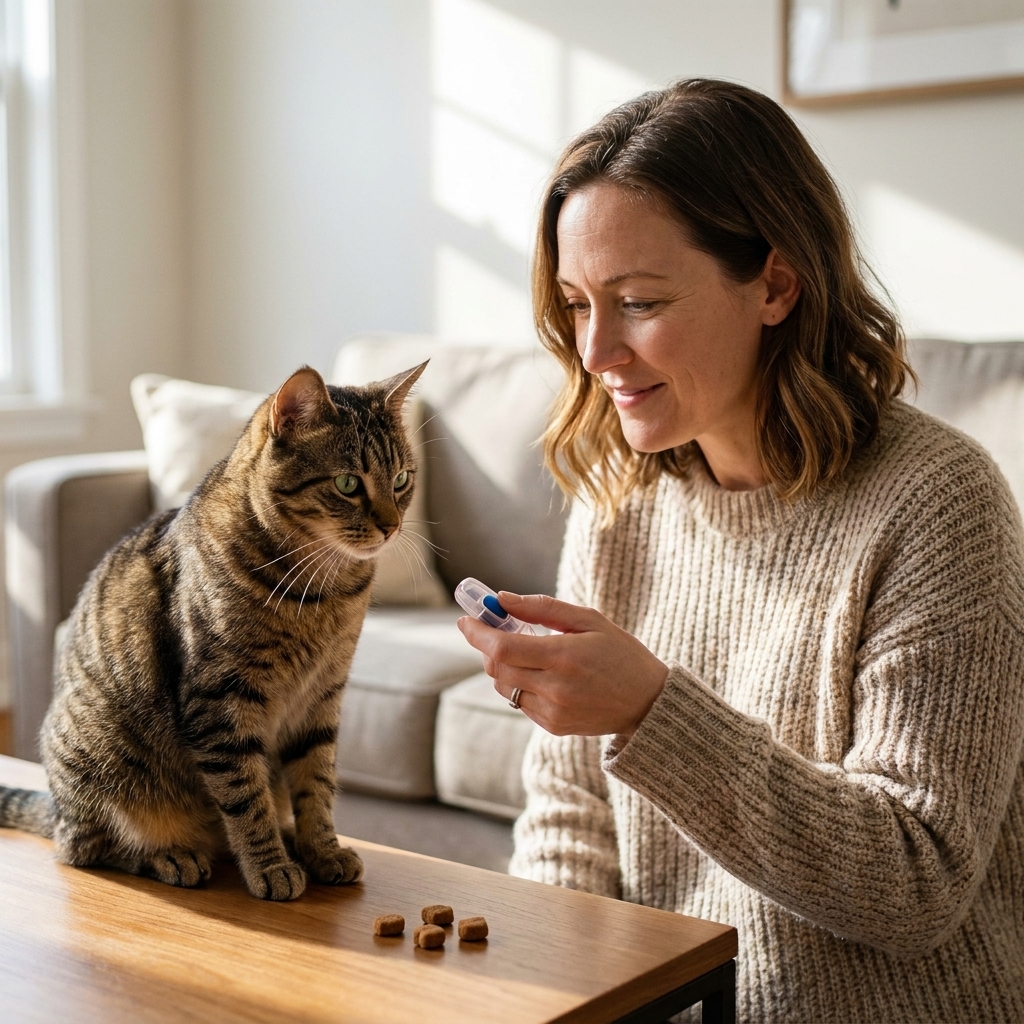
What clicker training is (and why cats love it)
Clicker training is a form of positive reinforcement. Your cat does a behavior, you mark it with a click, then you deliver a reward. Over time, the click becomes meaningful because it consistently predicts something your cat values (usually food).
- It is clear. The click marks the exact moment your cat got it right.
- It is kind. You are teaching what to do, not punishing what not to do.
- It builds confidence. Shy or spicy cats can relax once they understand the “game.”
- It taps into natural behaviors. Touching, climbing, pawing, and following are all very cat-like.
If you are thinking, “My cat is too independent for training,” you are in good company. I have trained everything from bottle babies to former ferals. The key is making it worth their while and keeping sessions short.
What you need before you start
A clicker (or a marker word)
A standard pet clicker works great. If the click sound startles your cat, you can muffle it in your pocket, use a quieter clicker, or switch to a marker word like “Yes.” The goal is consistency.
High-value, tiny treats
Use something soft and smelly, and keep pieces very small. Think rice-grain to pea-sized, depending on your cat and your calorie budget. For cats who are not food-motivated, try:
- Freeze-dried meat crumbled into bits
- Small pieces of cooked chicken
- Churu-style lickable treats (a quick lick can be the reward)
Weight-friendly tip: Treats count. If you are doing multiple sessions a day, use part of your cat’s regular meal as training rewards, or subtract treat calories from the day’s total.
If your cat is on a special diet or has medical concerns, check with your veterinarian before changing treats.
A low-distraction setup
- Train when your cat is alert and a little hungry (before a meal can be perfect).
- Pick a quiet room.
- Keep dogs, toddlers, and noisy toys elsewhere if possible.
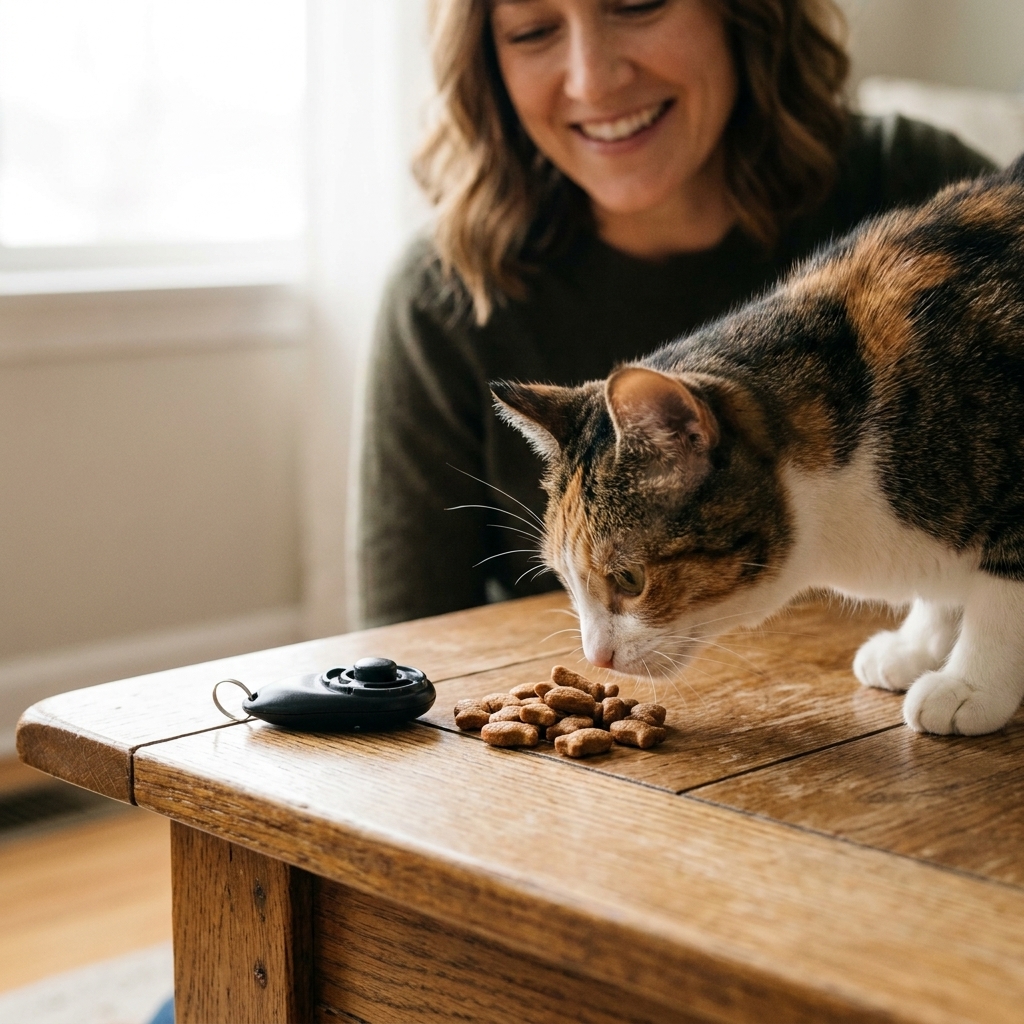
Step 1: Charge the clicker (teach “click = treat”)
This is the foundation. Do not skip it.
- Click once.
- Immediately give a treat.
- Repeat 10 to 15 times.
That is it. No cues, no demands. After a few short sessions, you will usually notice your cat orient to you or the treat pouch right after the click. That tells you the click has meaning.
Timing tip: The click happens the instant your cat does the behavior. The treat comes right after. Click first, then reach for the treat. If you reach first, your cat may learn to watch your hands instead of listening to the marker.
Training rules that make everything easier
- Keep sessions short. One to three minutes is plenty at first. End while your cat is still winning.
- One skill at a time. Do not mix new cues in the same session.
- Reward the try. If your cat is close, click it. You can shape cleaner reps later.
- Move in tiny steps. For cats, “too hard” often looks like walking away.
- Stop before frustration. If your cat gets snappy or overstimulated, pause and try later.
My rule with Clementine (my tortie with strong opinions) is simple: if her tail starts flicking hard, I end the session on an easy win. Training should feel safe and fun.
Make endings clear: I like an “All done” cue, then I put the clicker and treats away. It helps prevent the “yes, but what about second training session” lobbying.
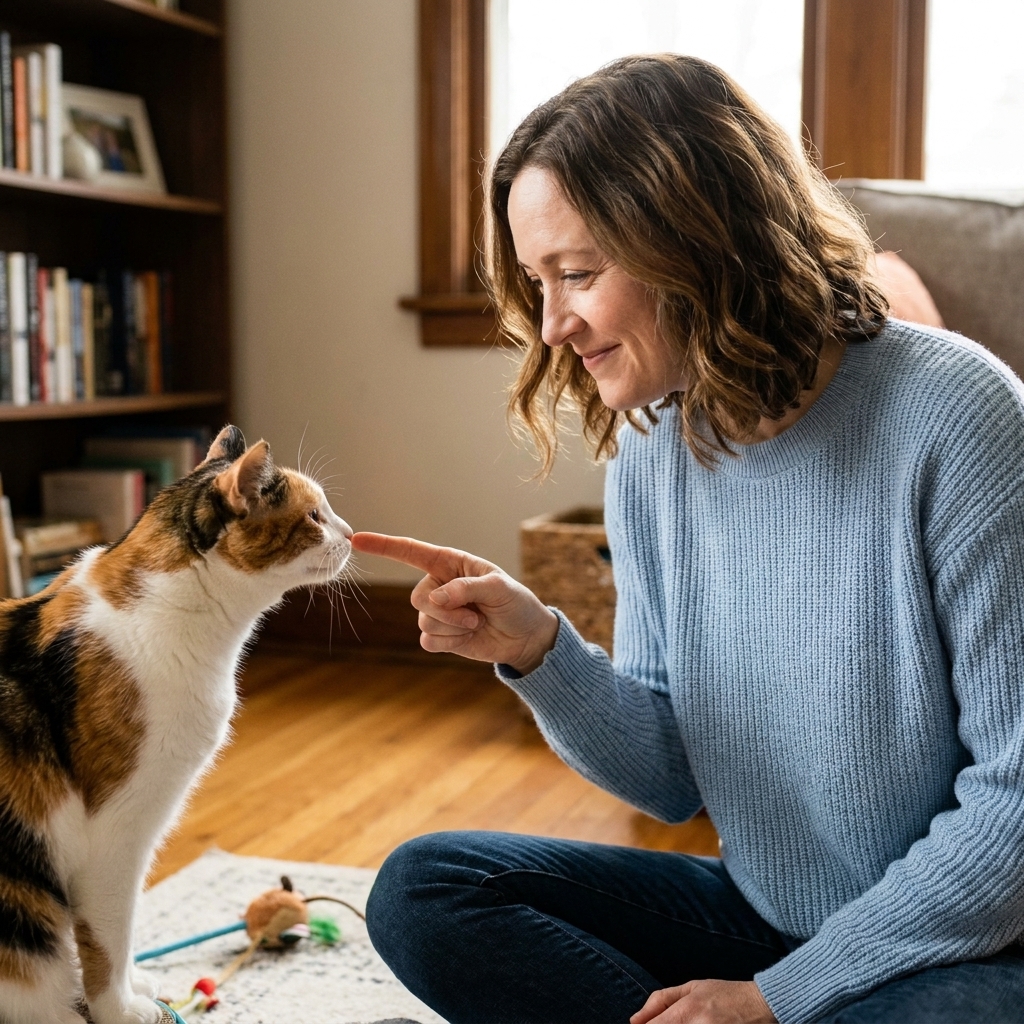
Trick 1: Target (touch a target with the nose)
If you teach only one thing, teach target. It makes everything else easier because you can guide your cat without pushing, grabbing, or repeating yourself.
How to teach it
- Hold out a target a few inches from your cat’s nose. A clean finger works, or the end of a spoon.
- When your cat leans in to sniff or touches it with their nose, click.
- Treat.
- Repeat until your cat is reliably touching the target.
Make it harder (in a good way)
- Move the target slightly to the left or right.
- Ask for one step toward the target.
- Practice on different surfaces like a bed, a cat tree platform, or near the carrier.
Add a cue: Once it is predictable, say “Target” right before you present your finger.
Trick 2: Sit
Many cats already sit naturally. We are simply capturing it and putting it on cue.
How to teach it (lure method)
- Hold a treat at your cat’s nose level.
- Slowly move the treat upward and slightly back over their head.
- As your cat follows the treat with their eyes, their rear often lowers into a sit.
- The moment their hindquarters hit the floor, click.
- Treat.
If your cat backs up instead of sitting: Try next to a wall so they cannot scoot backward, or use a slower lure with a higher-value treat.
Add a cue: When the sit is happening quickly, say “Sit” right before you move the treat.
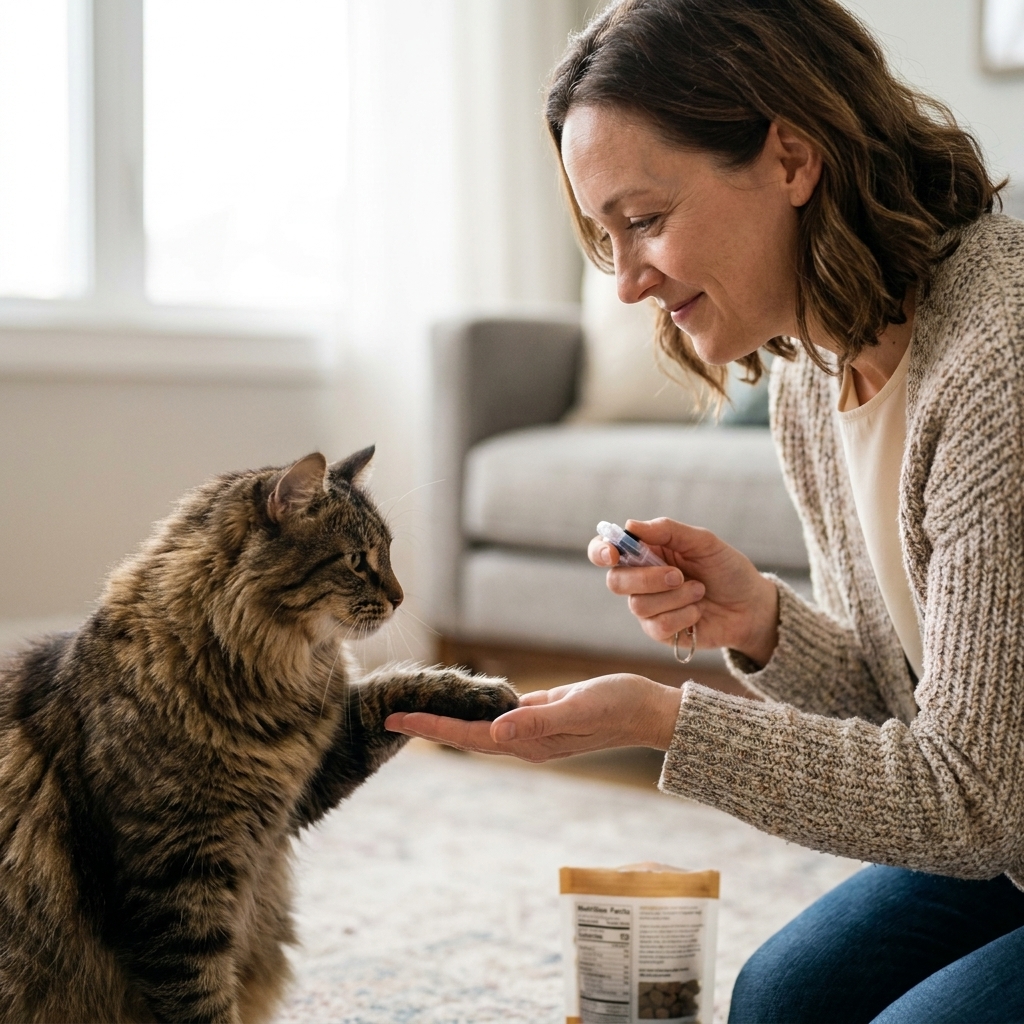
Trick 3: High-five
High-five is adorable, but it is also a sneaky way to build comfort with paws and set the stage for cooperative care.
Quick reality check: A high-five alone will not automatically make nail trims easy. If you want true handling tolerance, pair this with separate, slow cooperative-care steps (tiny paw touches, then a quick release, then reward).
How to teach it
- Ask for a target touch to get your cat engaged.
- Hold your open palm a few inches in front of your cat’s chest.
- With your other hand, hold a treat in a closed fist just behind your palm so your cat reaches toward it.
- Most cats will paw at your hand or your fist. The instant their paw touches your palm, click.
- Treat.
Clean it up
- Gradually stop hiding the treat behind your palm.
- Click only for paw-to-palm contact (not swatting the air).
- Introduce the cue “High-five” right before you present your palm.
Safety note: If your cat uses claws, trim nails regularly and keep your palm relaxed. If your cat gets grabby, switch to rewarding gentler paw taps.
Trick 4: Come when called
Reliable recall is a big ask for cats, but you can absolutely teach a “come here” that works well at home. I especially love this for multi-cat households where you want to call one cat for meals, meds, or nail trims.
How to teach it
- Start very close. Say your cat’s name plus your cue, like “Waffles, come.”
- Immediately show the treat, then take one step away.
- When your cat moves toward you, click.
- Treat when they reach you.
Build distance and real-life value
- Practice from across the room.
- Practice from a different room (easy mode first, like from the hallway with the door open).
- Sometimes reward with a jackpot (several treats in a row) so coming to you stays exciting.
Important: Say the cue once, then wait. Repeating it over and over teaches your cat they can ignore the first few. If they do not come, do not chase them. Reset by moving closer or making the next rep easier.
Also important: Try not to poison your recall cue by calling your cat only for things they dislike (like baths). Call them for good stuff more often than not.
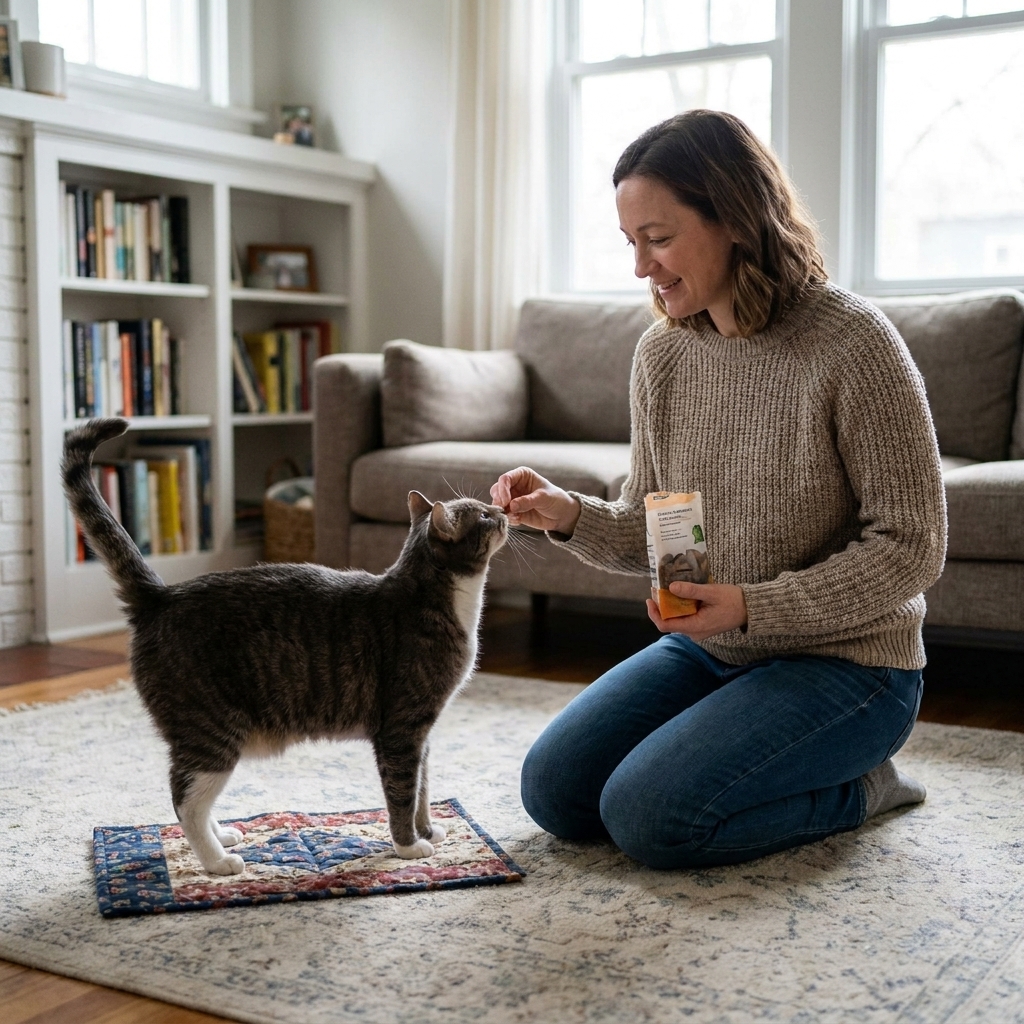
Trick 5: Go to mat (stationing)
“Go to mat” is one of the most useful behaviors you can teach. It gives your cat a clear job during busy moments, like cooking, answering the door, or managing guest anxiety.
How to teach it
- Place a small mat, towel, or bed on the floor.
- When your cat looks at it, steps on it, or sniffs it, click.
- Treat on the mat (this matters, it keeps the value on the station).
- Repeat until your cat begins walking to the mat on purpose.
Add duration
- Click for two paws on the mat.
- Then click for four paws on the mat.
- Then click for sitting or lying down on the mat.
- Slowly increase time between click and treat by one second at a time.
Add a cue: When your cat is predictably heading there, say “Mat” or “Place” right before they step onto it.
How often to train (and when to stop)
For most cats, one to two mini sessions per day is plenty. Consistency matters more than length.
End the session if you notice:
- Tail flicking hard, ears flattening, or sudden skin twitching
- Treats being taken roughly or the cat switching to biting the treat hand
- Walking away, hiding, or disengaging
- Vocal frustration (some cats growl or yowl when over-threshold)
Stopping early is not “giving up.” It is how you keep training positive so your cat wants to come back tomorrow.
Troubleshooting common clicker training hiccups
“My cat is not food-motivated.”
Try training before meals, upgrading treats, or using lickable treats. You can also reward with a quick play burst if your cat is toy-motivated: 5 to 10 seconds with a wand toy, then pause and reset for the next rep.
Also make sure your cat is not nauseous or painful. A sudden drop in food interest warrants a vet check.
“My cat gets overstimulated and bites.”
Use smaller pieces, keep sessions under 60 seconds, and consider tossing the treat slightly away after each click to reset arousal. If your cat ramps up with very exciting treats, try something less intense and slow the pace. If bitey behavior is frequent outside of training, work with a qualified behavior professional.
“My timing is bad and I click the wrong thing.”
It happens. Simply pause, reset, and try again. Avoid clicking when your cat is doing something you do not want repeated. If you misclick once, just deliver the treat and move on without fuss.
“My cat runs when they see the clicker.”
The click may be too loud or scary. Muffle it in your pocket, wrap it in a cloth, or switch to a marker word. Re-charge the marker slowly with extra tasty rewards.
“My cat only works if the treats are visible.”
That is normal early on. Keep treats in a pouch or pocket and practice presenting empty hands, then clicking and rewarding from the pouch. You can also teach a simple pattern: cue, click, treat from behind your back.
Safety and wellness notes
- Use soft surfaces for jumping or spinning behaviors, especially for older cats.
- Avoid forced handling. If your cat struggles when you position them, back up and shape smaller steps.
- Watch for pain signs. Reluctance to sit, jump, or offer paws can be a red flag for arthritis or injury.
- Keep it positive with multi-cat homes. Train cats separately at first to reduce competition and stress.
- Skip laser pointers as a reward. Many cats get frustrated when they cannot “catch” the dot. If you use play as reinforcement, a wand toy or tossed toy is usually a better choice.
Clicker training should leave your cat looking proud, not pressured.
A simple 7-day plan
- Day 1: Charge the clicker (2 to 3 mini sessions).
- Day 2: Target on your finger.
- Day 3: Target with one step of movement.
- Day 4: Sit (capture or lure).
- Day 5: High-five foundations (paw-to-palm).
- Day 6: Come when called from short distance.
- Day 7: Go to mat basics (four paws on station).
If your cat needs more time, take it. Progress is not a race. The win is building a communication system that makes life easier for both of you.
FAQ
Is clicker training good for kittens?
Yes, as long as sessions are very short and gentle. Kittens can get overstimulated quickly, so aim for 30 to 60 seconds at a time and use tiny treats.
Can I clicker train an older cat?
Absolutely. Many seniors love the mental workout. Just choose low-impact behaviors and consider training on a padded surface if your cat has stiff joints.
Do I have to use a clicker forever?
No. Once a behavior is fluent, you can gradually replace frequent food rewards with intermittent treats, praise, petting (if your cat enjoys it), or a quick play session. I still like keeping the click as a clear marker, but the treat does not have to happen every single time forever.
What is the best time of day to train?
When your cat is naturally awake and interested, often before meals. If your cat has a nightly zoomies schedule, a short training session in the evening can help take the edge off.